Hercules Professional Documentation
Step-by-step setup and customization guide: installation, the setup wizard, page builders, demo import, colours, typography, headers and footers, sports content, WooCommerce, translation and updates.
Version 7.0.1
A full translation for this language is still in progress — showing the English guide.
Requirements and installation
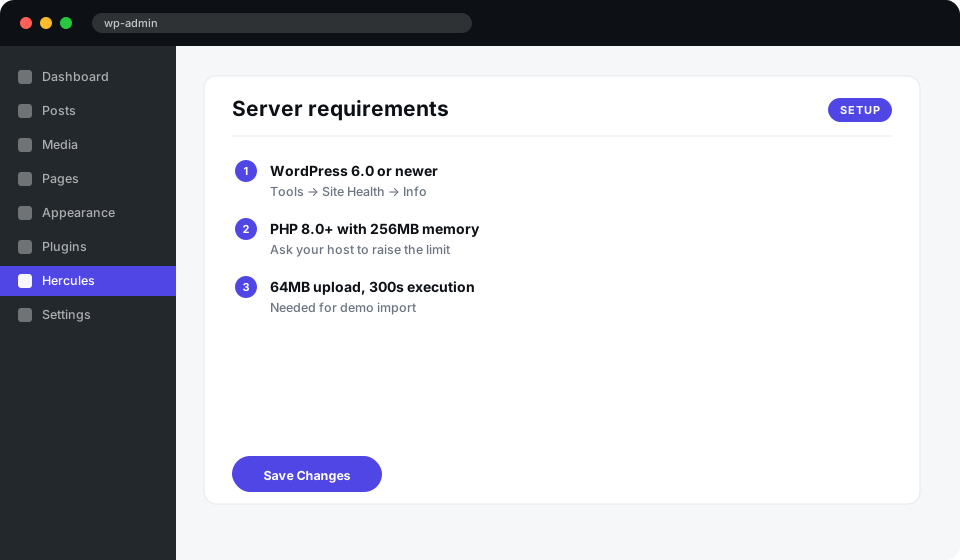
Confirm your hosting meets the minimums, then install the theme from wp-admin. Never unzip the theme into wp-content/themes by hand — use the uploader so WordPress validates it.
- Check your server: WordPress 6.0+, PHP 8.0+, 256MB PHP memory, 64MB upload limit and 300s max execution time. You can see all of these under Tools → Site Health → Info.
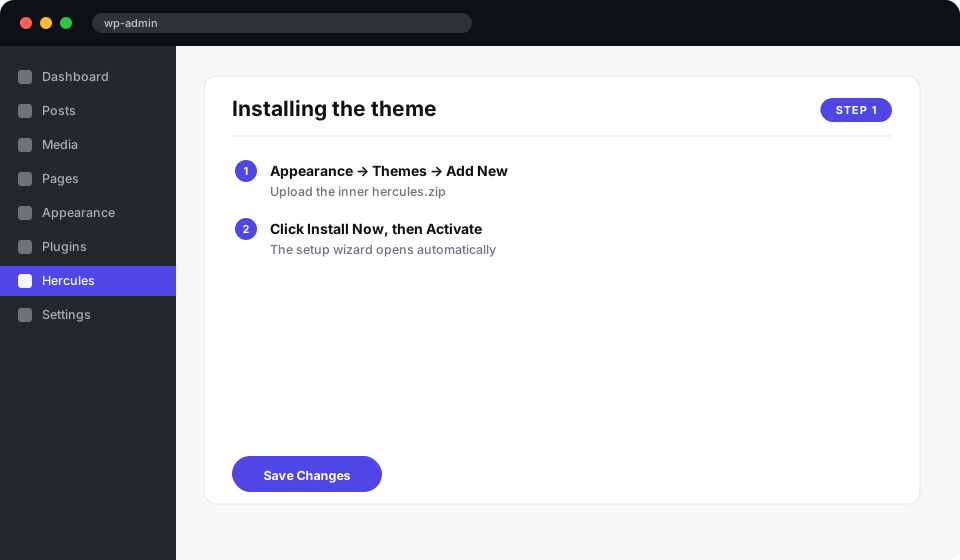
- Download the package from ThemeForest and unzip it. The installable theme is the inner hercules.zip — not the whole download.
- Go to Appearance → Themes → Add New → Upload Theme, choose hercules.zip and click Install Now.
- Click Activate. The Hercules Setup Wizard opens automatically on first activation.
Note: If the upload fails with "the link you followed has expired", your PHP upload limit is too low. Raise upload_max_filesize and post_max_size, or install the inner zip over SFTP.
Setup wizard and required plugins
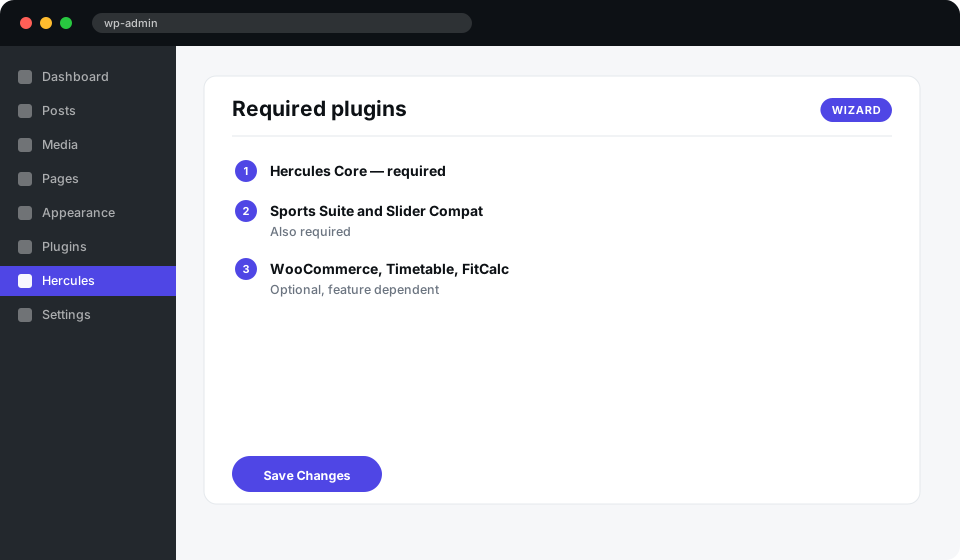
The wizard installs the companion plugins for you. Hercules Core is required; everything else depends on which features you want.
- When prompted, click Begin Installing Plugins. Hercules Core, Hercules Sports Suite and Hercules Slider Compatibility are required.
- Install your chosen page builder only — WPBakery, Elementor, or neither if you plan to use Gutenberg or the classic editor.
- Optional: WooCommerce for the shop, Hercules Timetable for class schedules, FitCalc for health calculators, Contact Form 7 for forms.
- Install One Click Demo Import, Redux Framework and CMB2 — these power demo import and the theme options panel.
- Activate everything, then return to Appearance → Hercules Setup.
Note: You can re-open the plugin installer any time from Appearance → Install Plugins.
Choosing your page builder
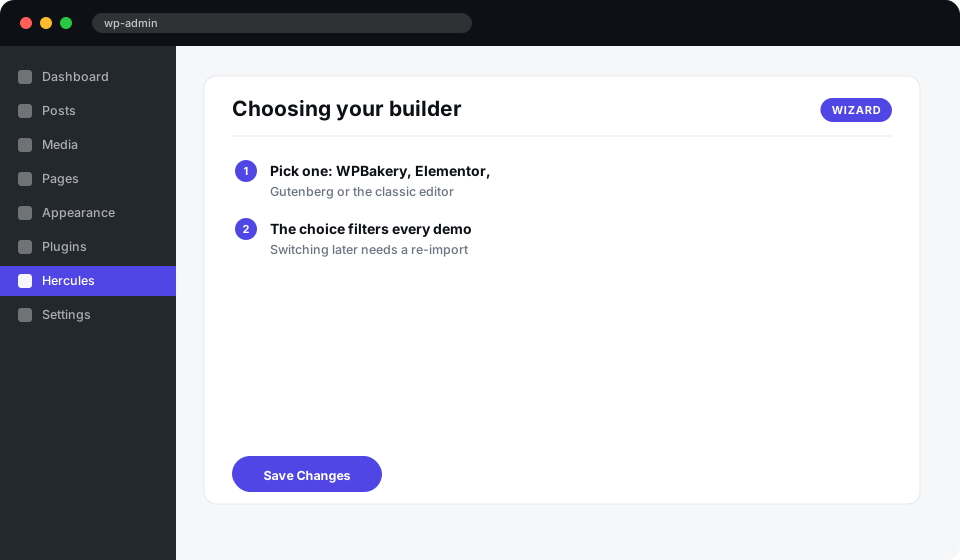
Hercules ships four complete builder packages: WPBakery, Elementor, Gutenberg and the classic WordPress editor. You pick one. The importer only brings in that package, so the other three never clutter your site.
- Decide before importing — switching later means re-importing the demo.
- In the wizard, select your builder. The choice is stored and used to filter every page, header, footer and blog layout.
- Each page keeps a _hercules_page_builder value. Header and footer layouts are matched to it automatically.
Note: Gutenberg and the classic editor need no extra plugin. WPBakery and Elementor are bundled in the download.
Importing a demo
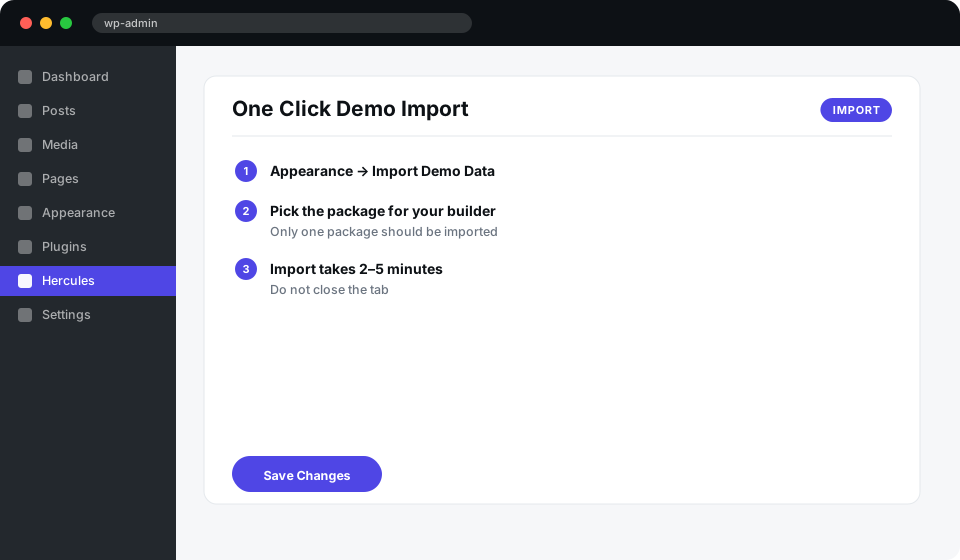
One Click Demo Import brings in pages, menus, layouts, widgets and theme options. Import one package only.
- Go to Appearance → Import Demo Data.
- Pick the package matching your builder, for example "Hercules Complete — Elementor".
- Click Import and wait. A full import takes two to five minutes; do not close the tab.
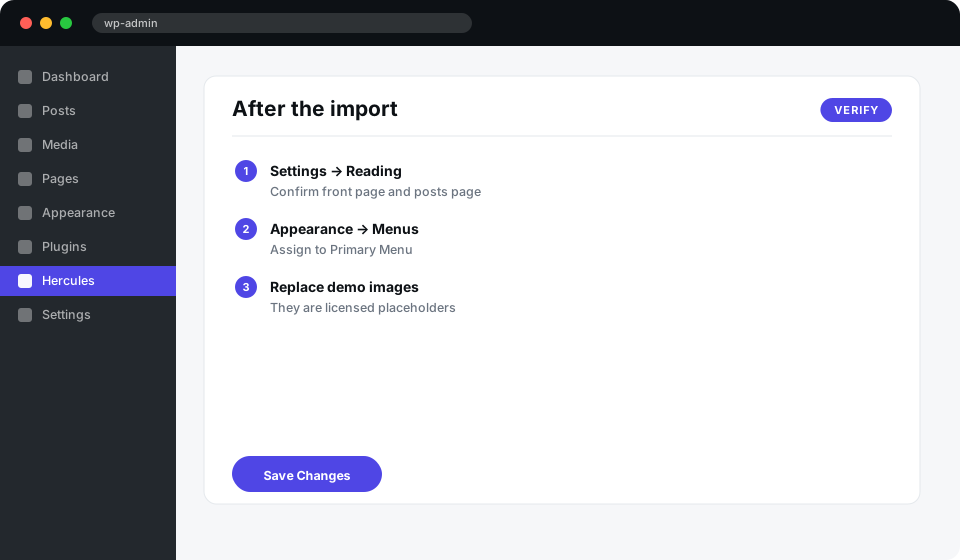
- When it finishes, visit Settings → Reading and confirm the front page and posts page are set.
- Go to Appearance → Menus and confirm your menu is assigned to the Primary Menu location.
Note: Imported images are licensed placeholders. Replace them with your own before going live — they are there to show layout, not to be reused.
Customizing colours
Every colour in Hercules comes from a small set of CSS custom properties. Change the token and the whole theme follows — buttons, links, borders, badges, headers, the favicon and all twenty demos.
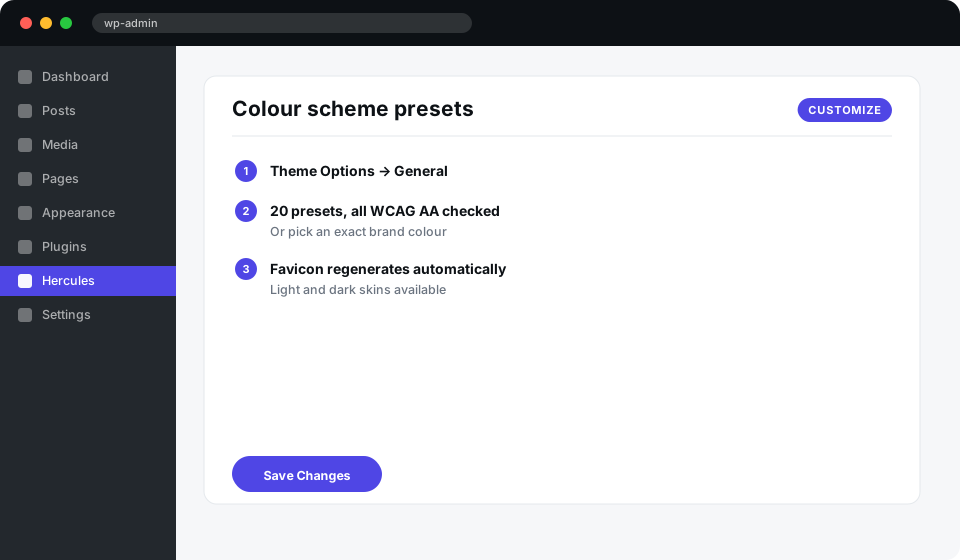
- Go to Appearance → Theme Options → General.
- Pick one of the twenty Colour Scheme Presets — Ember Orange, Indigo Night, Steel Navy, Emerald Performance and so on. Every preset is contrast-checked to WCAG AA.
- Need an exact brand colour instead? Use the Colour Scheme picker below the preset. It overrides the preset and calculates an accessible text colour for you automatically.
- Choose Light or Dark under Colour Skin to switch the overall surface treatment.
- Save. The favicon regenerates in the new colour automatically.
:root{
  --hercules-accent: #4f46e5;
  --hercules-accent-dark: #3730a3;
  --hercules-accent-soft: #ecebfc;
  --hercules-accent-ink: #ffffff;
  --hercules-dark: #0d1115;
}
Note: To override a token in a child theme, redeclare it under :root in your child style.css. Do not edit the parent theme CSS — your changes would be lost on update.
Customizing typography and logo
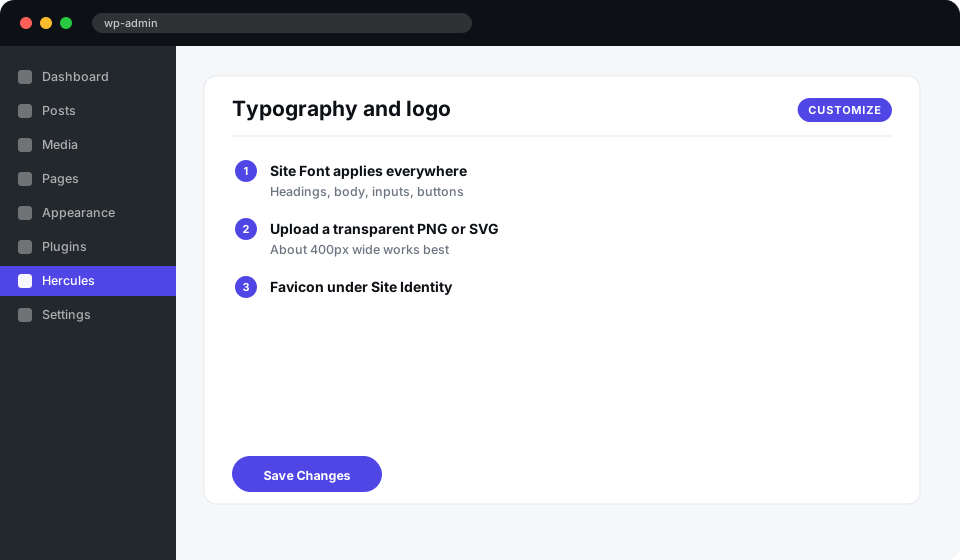
Fonts are loaded from Google Fonts through the options panel. The logo and favicon are set in the same place.
- Go to Appearance → Theme Options → General → Site Font and choose your family. It applies to headings, body text, inputs and buttons.
- Upload your logo under Theme Options → General → Logo. A transparent PNG or SVG around 400px wide works best.
- Set the favicon under Theme Options → General → Favicon, or use Appearance → Customize → Site Identity for the full icon set.
- To use a different font on one page only, add a _hercules_site_font custom field to that page with the font name.
Customizing headers and footers
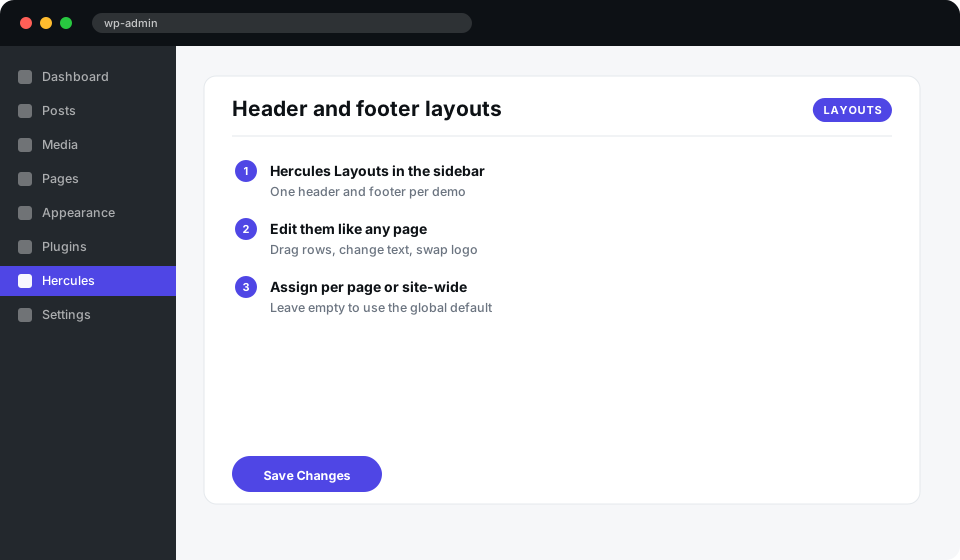
Headers and footers are editable content, not locked template files. Each one is a Hercules Layout you can open and edit in your builder.
- Go to Hercules Layouts in the admin sidebar. You will see a header and a footer for each demo, in each builder.
- Open one and edit it exactly like a page — drag rows, change text, swap the logo.
- In the Layout Settings box set the type (header or footer), the builder and the demo slug it belongs to, and tick Active.
- To assign a layout to one page, open that page and use the Header layout and Footer layout selects in the Hercules panel.
- To set a site-wide default, leave those selects empty — the theme falls back to the global layout options.
Note: Each layout carries its own --layout-accent, which is how the twenty demos keep distinct colours while sharing one theme.
Editing pages and using a child theme
Every demo page is fully editable in the builder you selected. For code changes, always use a child theme.
- Open any page and click Edit with Elementor, Edit with WPBakery, or use the block editor — whichever matches your builder.
- Duplicate a demo page rather than starting blank; you keep the section structure and only swap content.
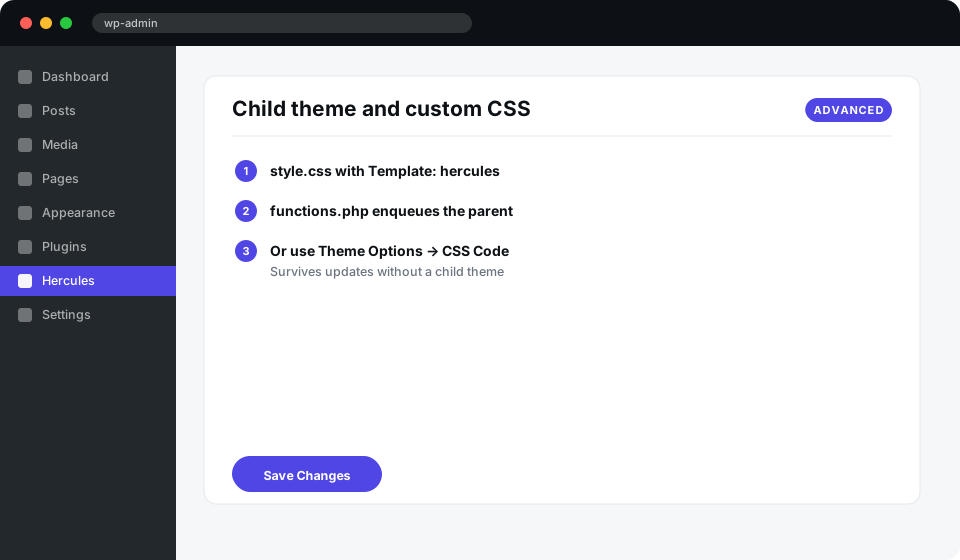
- For PHP or CSS changes, create a child theme folder with a style.css that declares Template: hercules, plus a functions.php that enqueues the parent stylesheet.
- Small CSS tweaks can go in Theme Options → General → CSS Code instead, which survives updates without a child theme.
/*
 Theme Name: Hercules Child
 Template: hercules
*/
Classes and the weekly timetable
Classes are a custom post type; the timetable renders them by day and time.
- Add entries under Timetable → Add New. Set the day, start and end time, and the trainer.
- Place the timetable on any page with the shortcode below, or use the Hercules Timetable widget in your builder.
- Classes themselves live under Classes → Add New and appear in the class sliders and grids.
[hercules_timetable title="Weekly Timetable" subtitle="Pick a session and book your place."]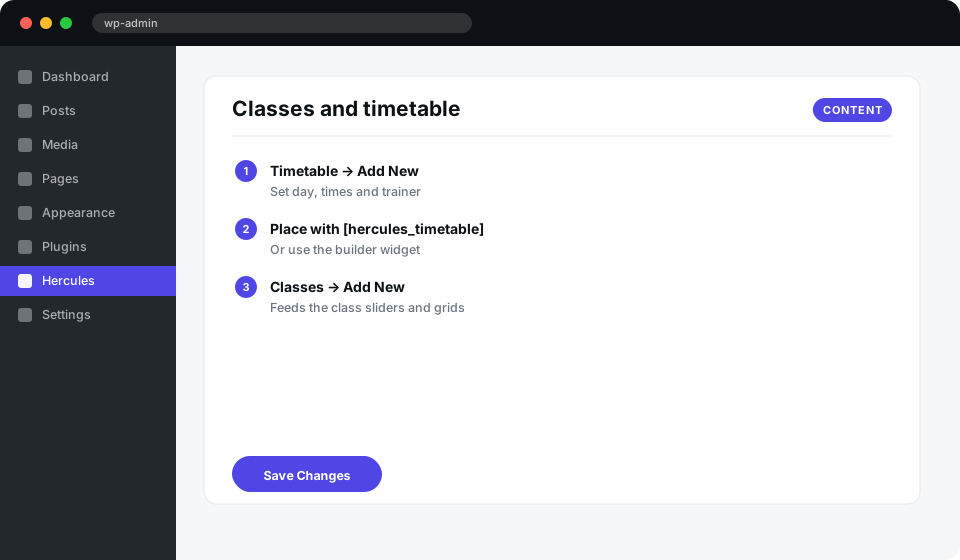
Matches, teams, players and videos
The Hercules Sports Suite adds four sports post types with matching shortcodes and blocks.
- Add fixtures under Matches, squads under Teams, and profiles under Players.
- Add clips under Sports Videos. Each accepts a hosted file or an oEmbed URL.
- Drop them onto any page with the shortcodes below, the Elementor widget, or the Gutenberg blocks.
[hercules_matches]
[hercules_teams]
[hercules_players]
[hercules_video_gallery]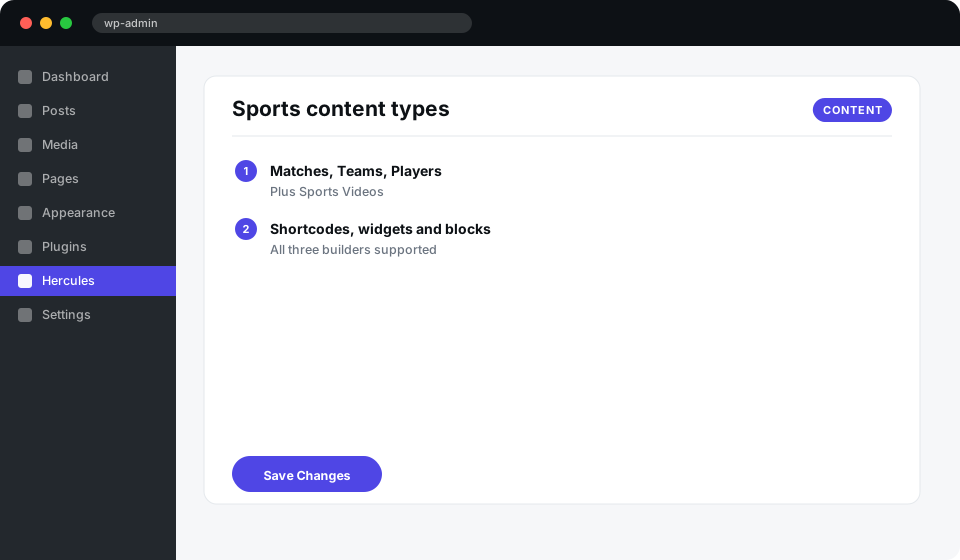
WooCommerce and FitCalc
Both are optional. The theme works without either, and the related demo content only appears once the plugin is active.
- Install WooCommerce, then run its own setup wizard. Hercules styles the shop, cart, checkout and account pages automatically.
- Shop layout, sidebar and column count are under Theme Options → WooCommerce.
- Install FitCalc for BMI, BMR, TDEE and hydration calculators, then place them with the shortcode below.
- The header cart icon appears automatically when WooCommerce is active and hides itself when it is not.
[hercules_fitcalc]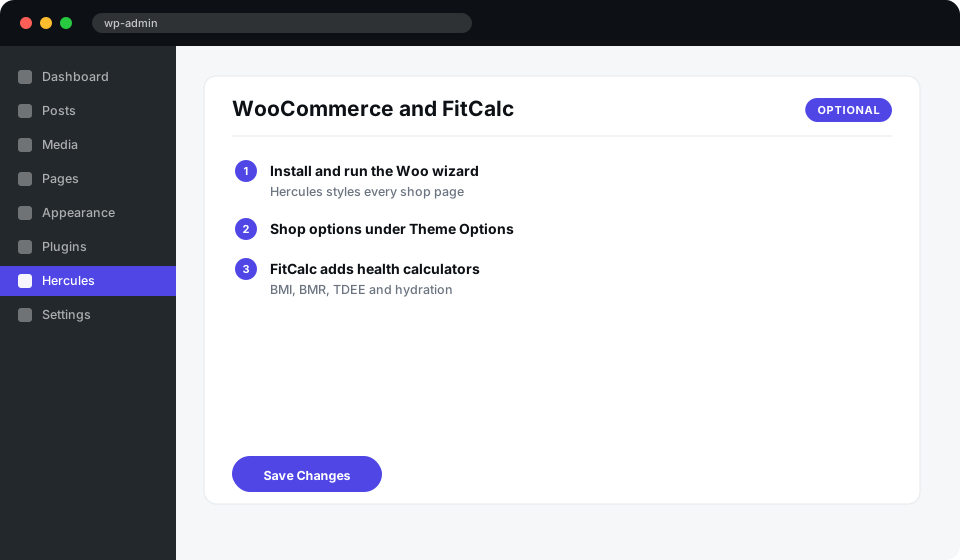
Languages and RTL
Hercules is translation-ready and ships an RTL stylesheet. This documentation is available in twenty languages.
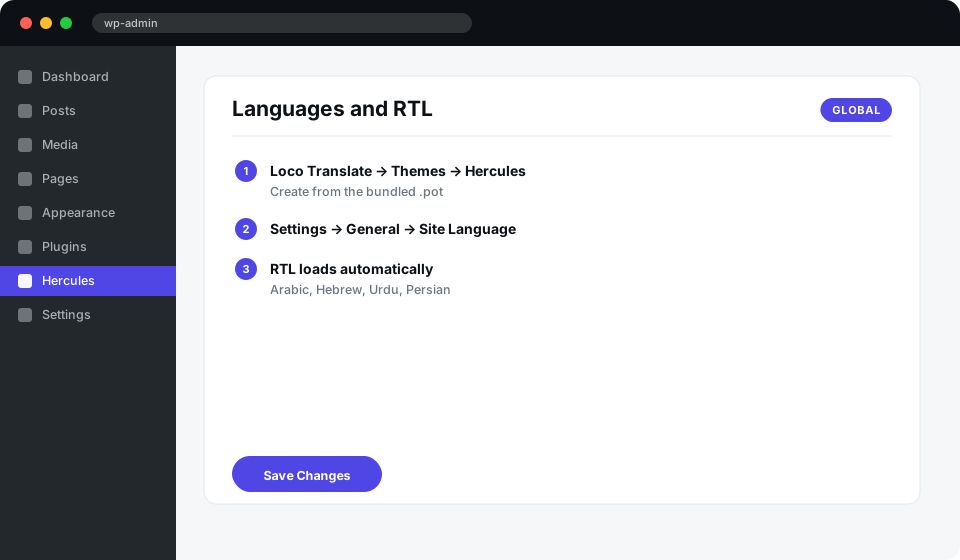
- Install Loco Translate, open Loco Translate → Themes → Hercules and create a translation from the bundled .pot file.
- Translate the strings you need and save — Loco writes the .po and .mo files for you.
- Set your site language under Settings → General → Site Language.
- For Arabic, Hebrew, Urdu or Persian, RTL styles load automatically once the site language is set. No extra plugin is needed.
- Switch this documentation into any of the twenty languages using the Language selector at the top of this page.
Support tickets
Hercules includes a built-in ticket system for pre-sale questions and customer support.
- Place the support centre on a page with the shortcode below. Pre-sale, customer and ticket-tracking tabs are all included.
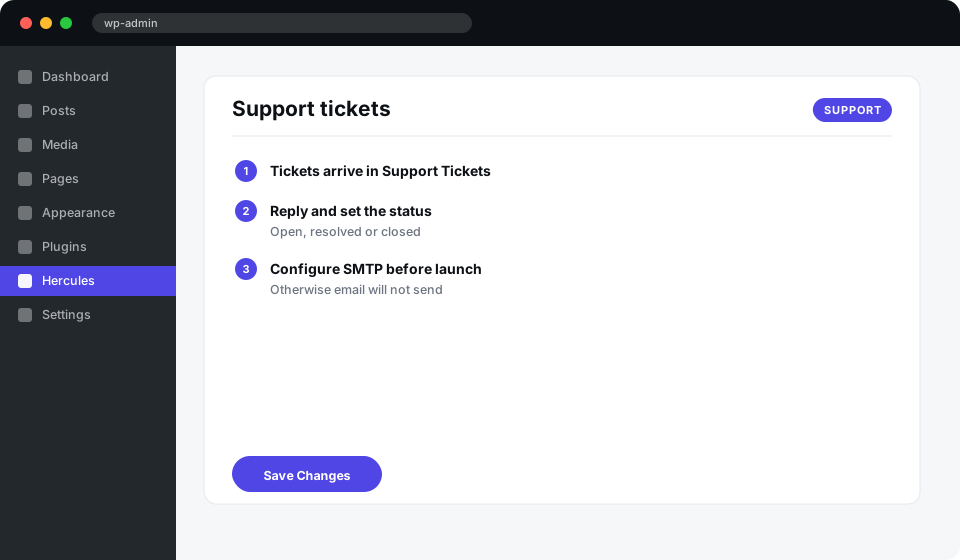
- Tickets arrive under Support Tickets in the admin sidebar. Open one to see the full conversation.
- Reply from the Reply to Customer box and set the status to open, resolved or closed.
- Set the notification address under Hercules Suite → Settings → Support email.
[hercules_support_center]Note: Ticket notifications use the WordPress mail service. Most hosts need an SMTP plugin such as FluentSMTP or WP Mail SMTP before email will actually leave the server — configure one before going live, or customers will never receive their ticket link.
Demo media, credits and customer responsibility
Demo images and videos are layout examples, not a transfer of ownership. Known source records are listed in the customer package, but every customer must verify the current licence and replace demo media before production use.
- Open customer-package/documentation/media/MEDIA-CREDITS.csv to review known provider, creator, original item URL and recorded licence information.
- Treat any blank or incomplete source record as unverified: replace that media or independently confirm its origin and current usage rights.
- Before launch, replace demonstration logos, names, people, products, team media, blog images, videos and other sample content with your own authorised assets.
- After replacing an image, update its alt text so it accurately describes the new image in context.
- Keep your own copy of source URLs, invoices, permissions, licence terms and any model or property releases.
Note: Use or retention of third-party demo media is at the customer’s own responsibility. AdnanThemes does not grant ownership of third-party media and is not responsible for the customer’s final content, licence verification, rights clearance, copyright or trademark claims, privacy or publicity claims, or future changes to provider terms.
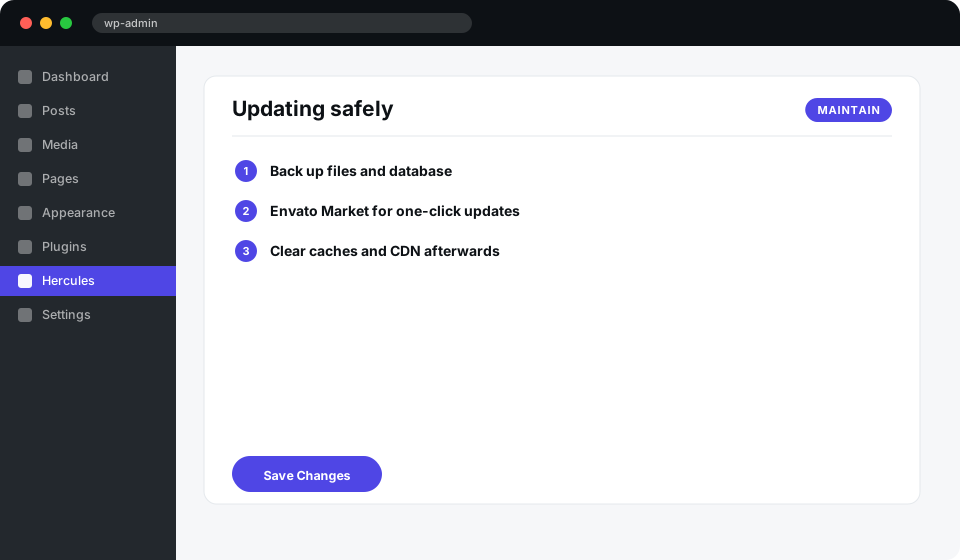
Updating safely
Updates replace the parent theme folder. Anything you edited inside it would be lost, which is why a child theme matters.
- Back up your files and database first.
- Install the Envato Market plugin for one-click updates, or upload the new hercules.zip over the old theme.
- Update the companion plugins from Appearance → Install Plugins after the theme update.
- Clear any caching plugin and your CDN, then hard-refresh the front end.
Note: Your content, theme options, layouts and menus are stored in the database and are never touched by a theme update.
No matching documentation found.
Before opening a support ticket
Most setup questions can be solved in a few minutes with these checks.
- Confirm WordPress, PHP and server requirements in the Requirements section.
- Install and activate only the plugins required by your selected demo and builder.
- Run the demo importer once, then resave Permalinks and clear every cache.
- Check the relevant builder, timetable, WooCommerce, translation or update section above.
- Temporarily disable unrelated third-party plugins to rule out a conflict.
Still need help? Open the Hercules support centre.